Navigation: Configuring Security > Managing Groups >
Adding a New Group


|
Navigation: Configuring Security > Managing Groups > Adding a New Group |
|
On the first Screen click on "new" to open the "new group name" box.
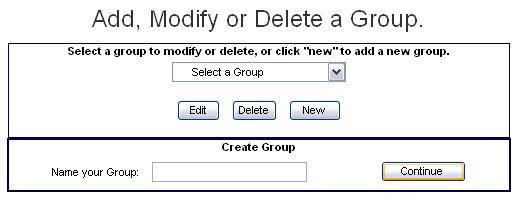
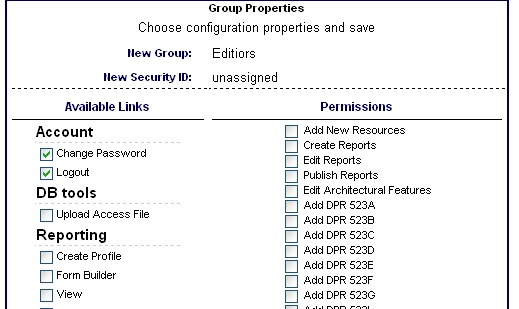
Type in the name of your group and click "continue". This will bring you to a screen where you can set Permissions and Available Links.
Permissions - These are functions that are checked within various applications. For example, a group member will never see a link to add a DPR523D form unless he has either "Add DPR523D" or "Add All DPR" permissions.
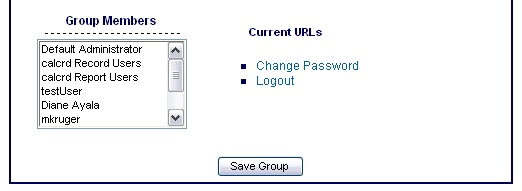
Available Links - These are actual applications installed in the suite. Think of this as the "menu choices" list. If a group member doesn't have "Add New" checked off under Resources he will never see the "add new" wizard link - even if he has permissions to add DPRs and resources. Note - by default, all users have access to the "logout" and "change password" screens.
Select Group Members - Click on the users that you want to belong to this group. Hold down the control key while you click to select multiple users. When you are done, select "Save Group"